Shimano SLX M675 Shadow Plus – Used to the end – long term review

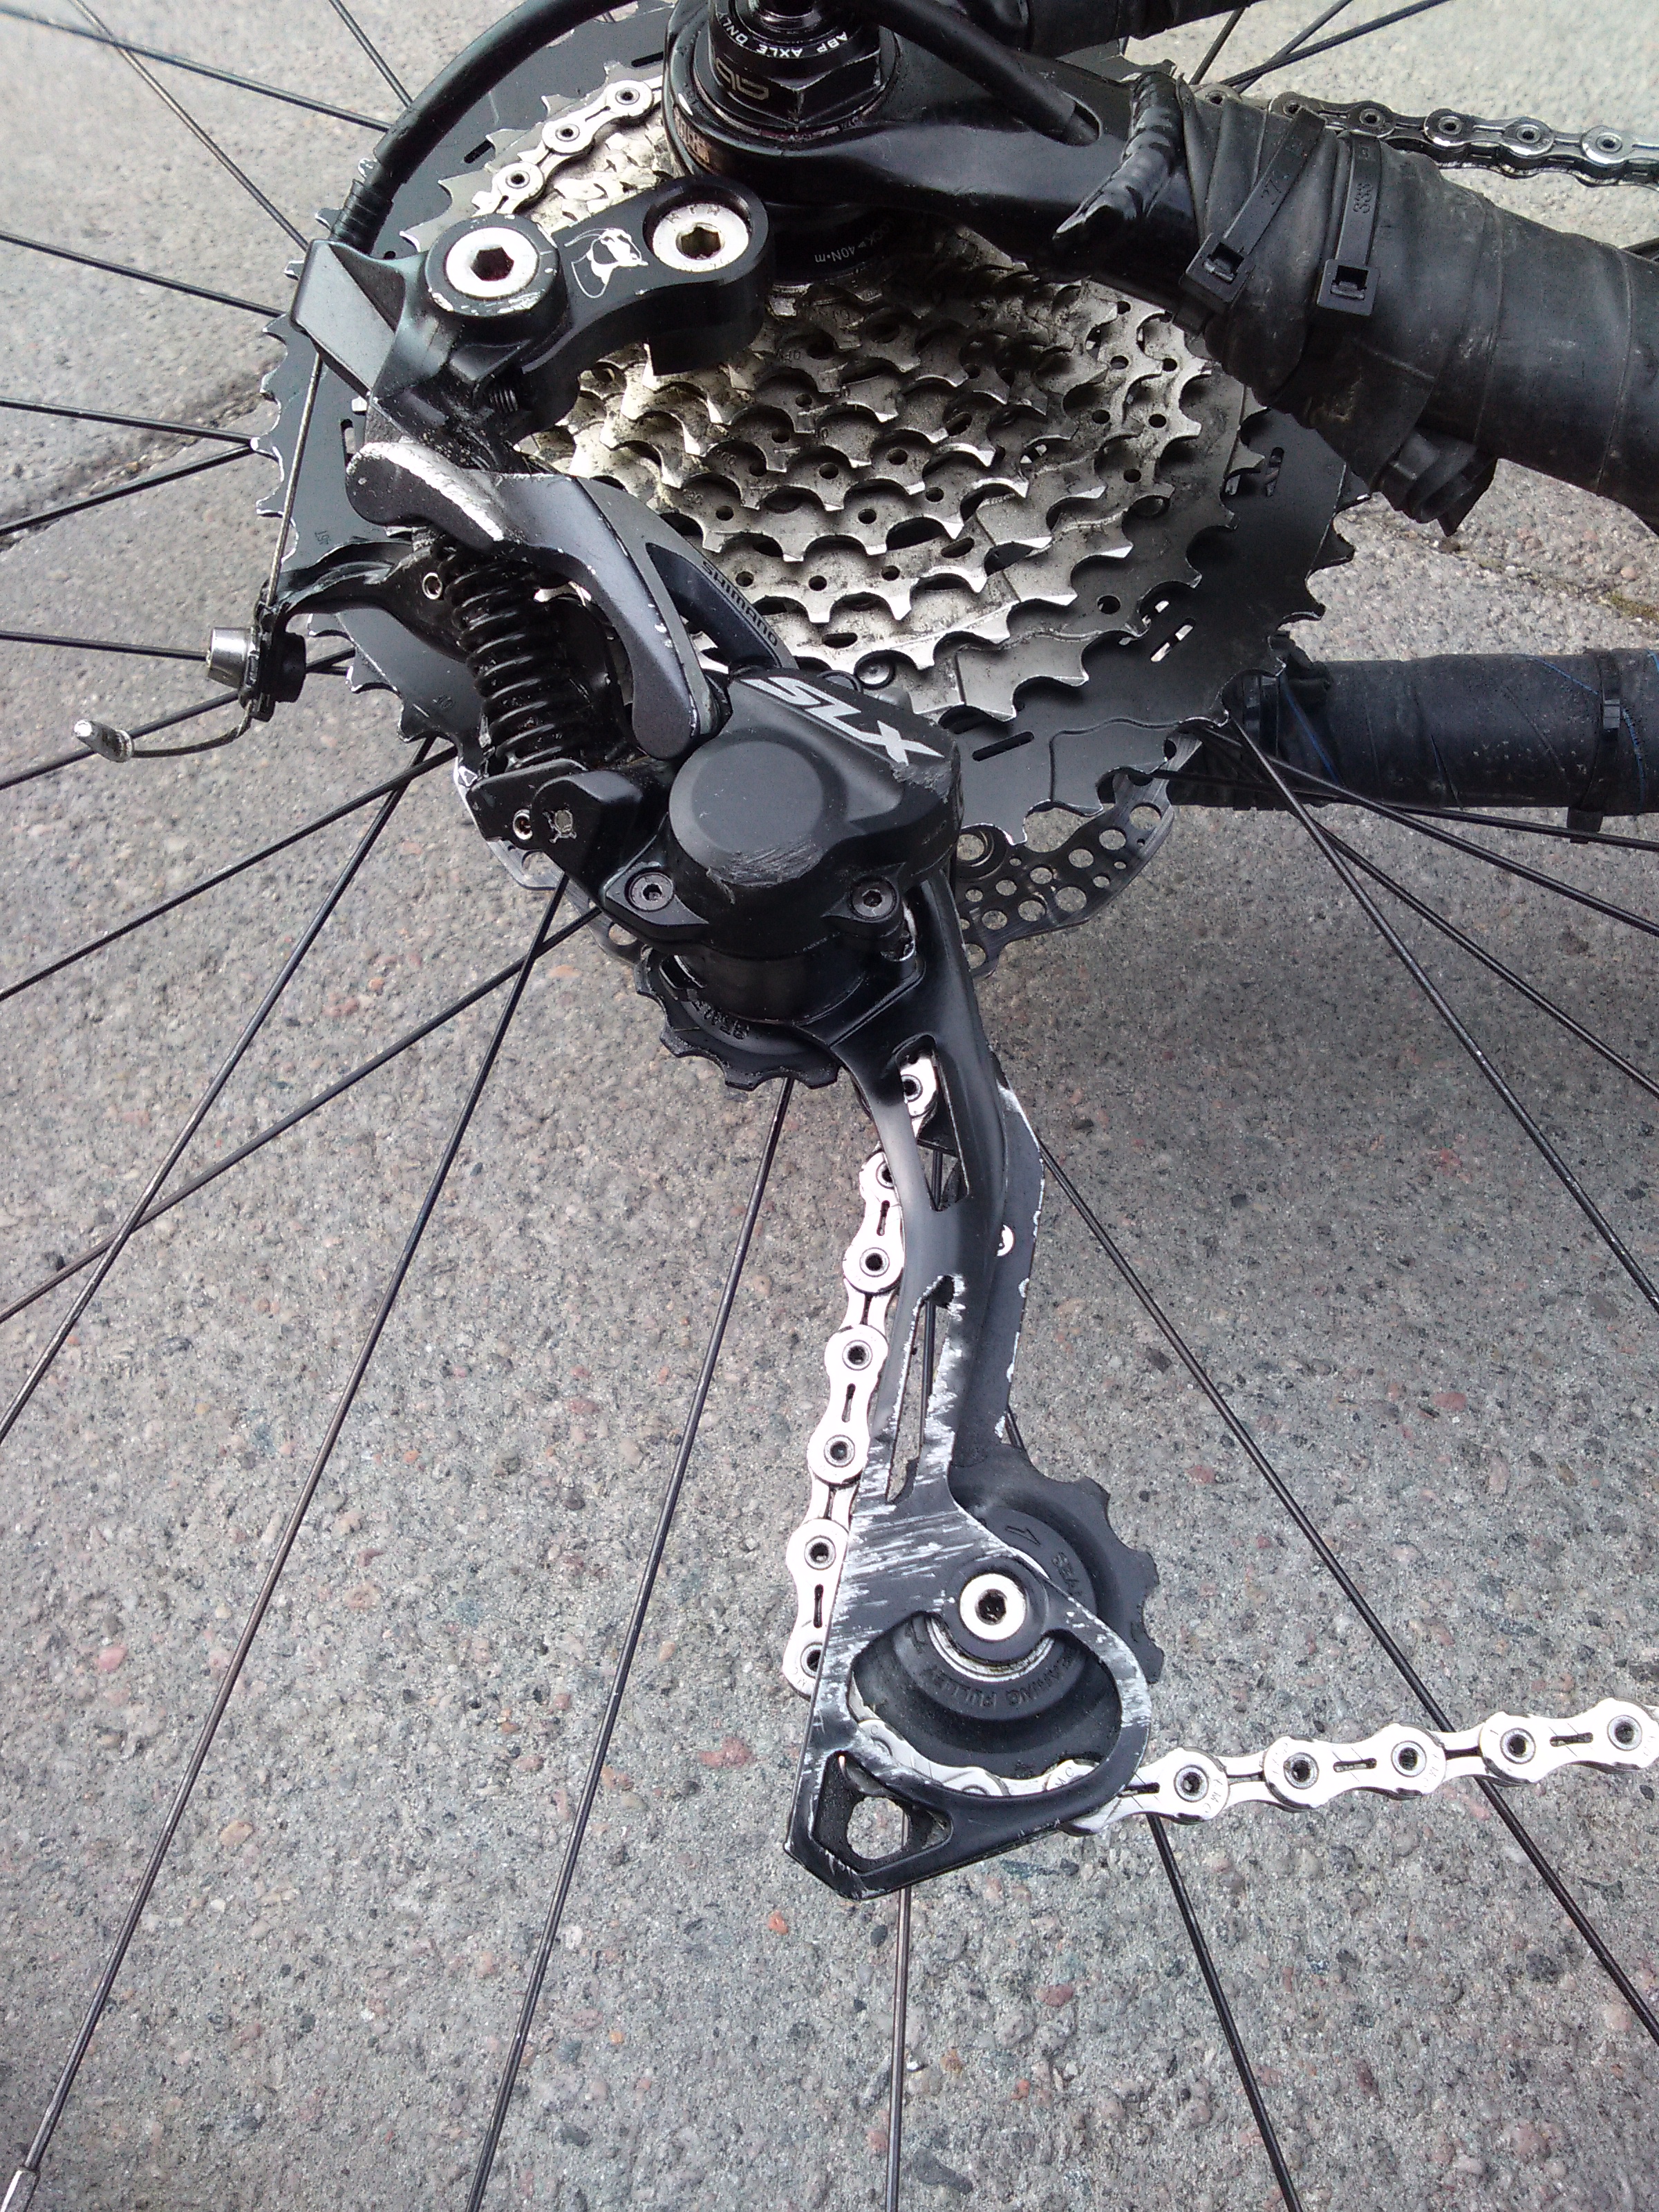
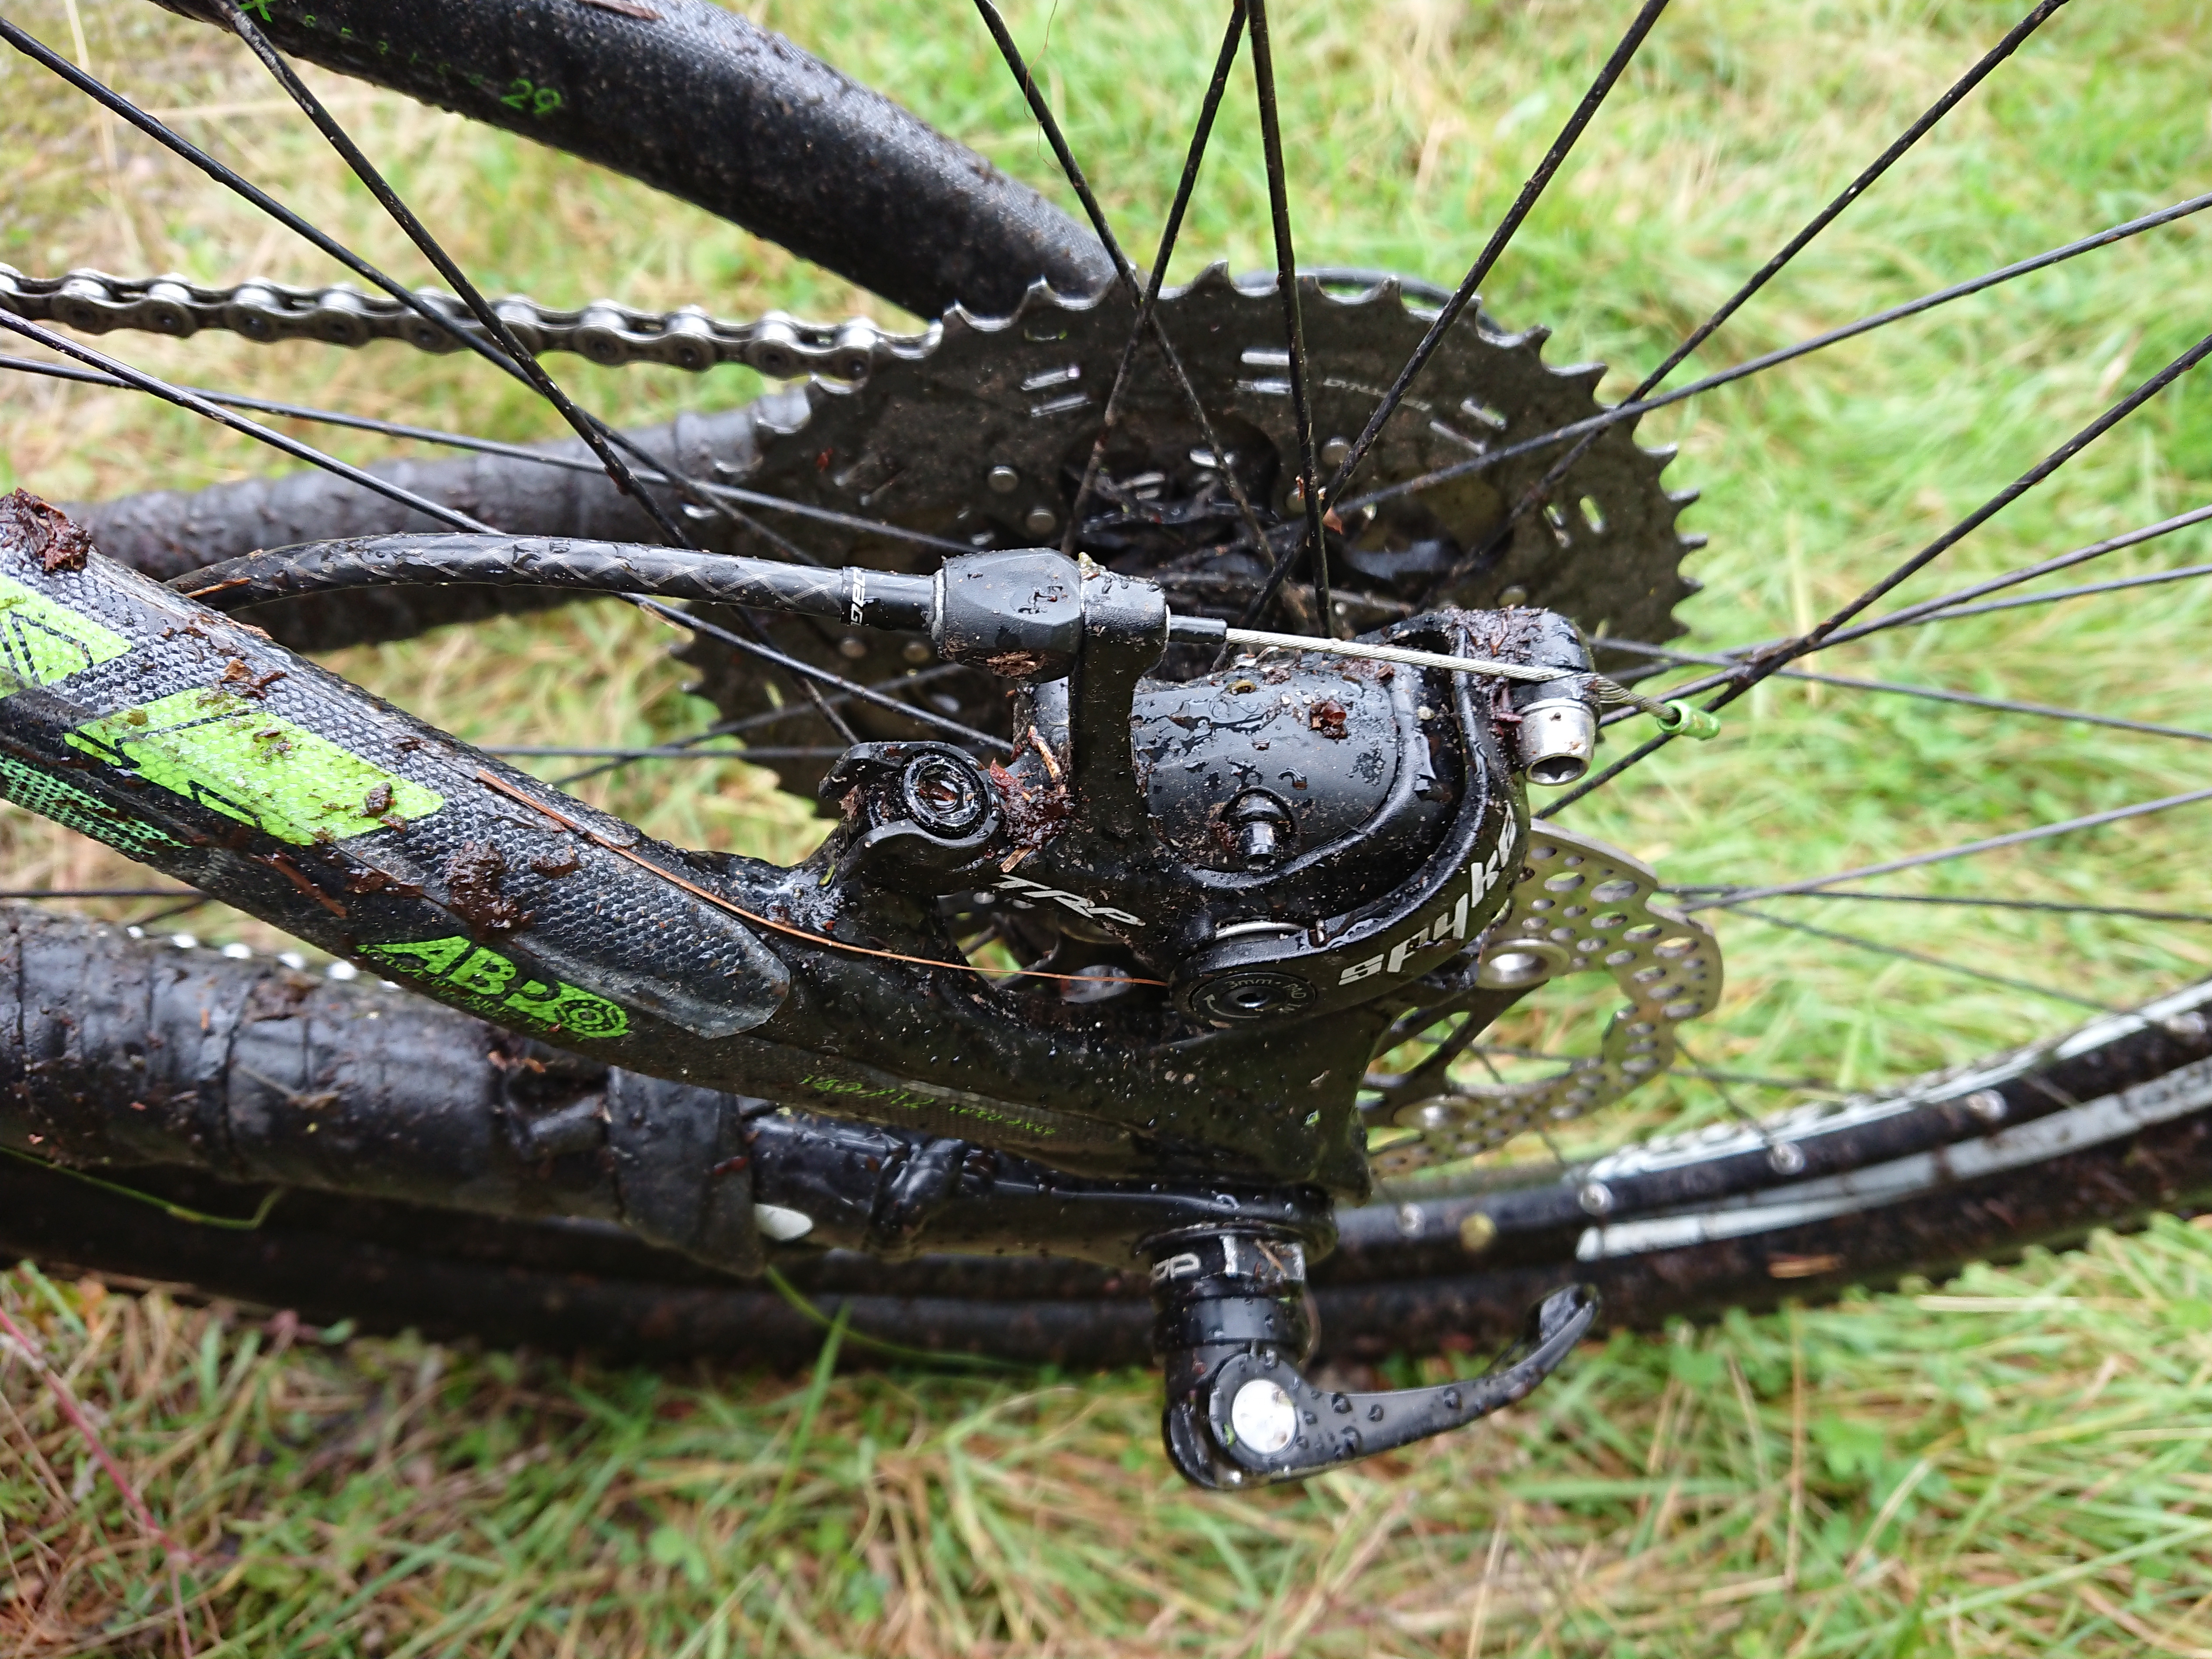
This rear dérailleur has been on some long rides, and got some abuse, some of the abuse was from crashes, some of the abuse is from the 2014 fuel ex frame set, so I am sure it contributed to the rear dérailleur wearing out faster.

Time used:

I have ridden this rear dérailleur since 2015, some weeks in 2016 & the whole 2016/2017 winter plus one winter, and some weeks and days in the summer of 2017.

I ride a lot, I ride at least 5 days in a week (if I am well enough to),  from 1 hour few hours, depending on how I ride up to 20 plus km, sometimes less, but my point is I ride a lot.

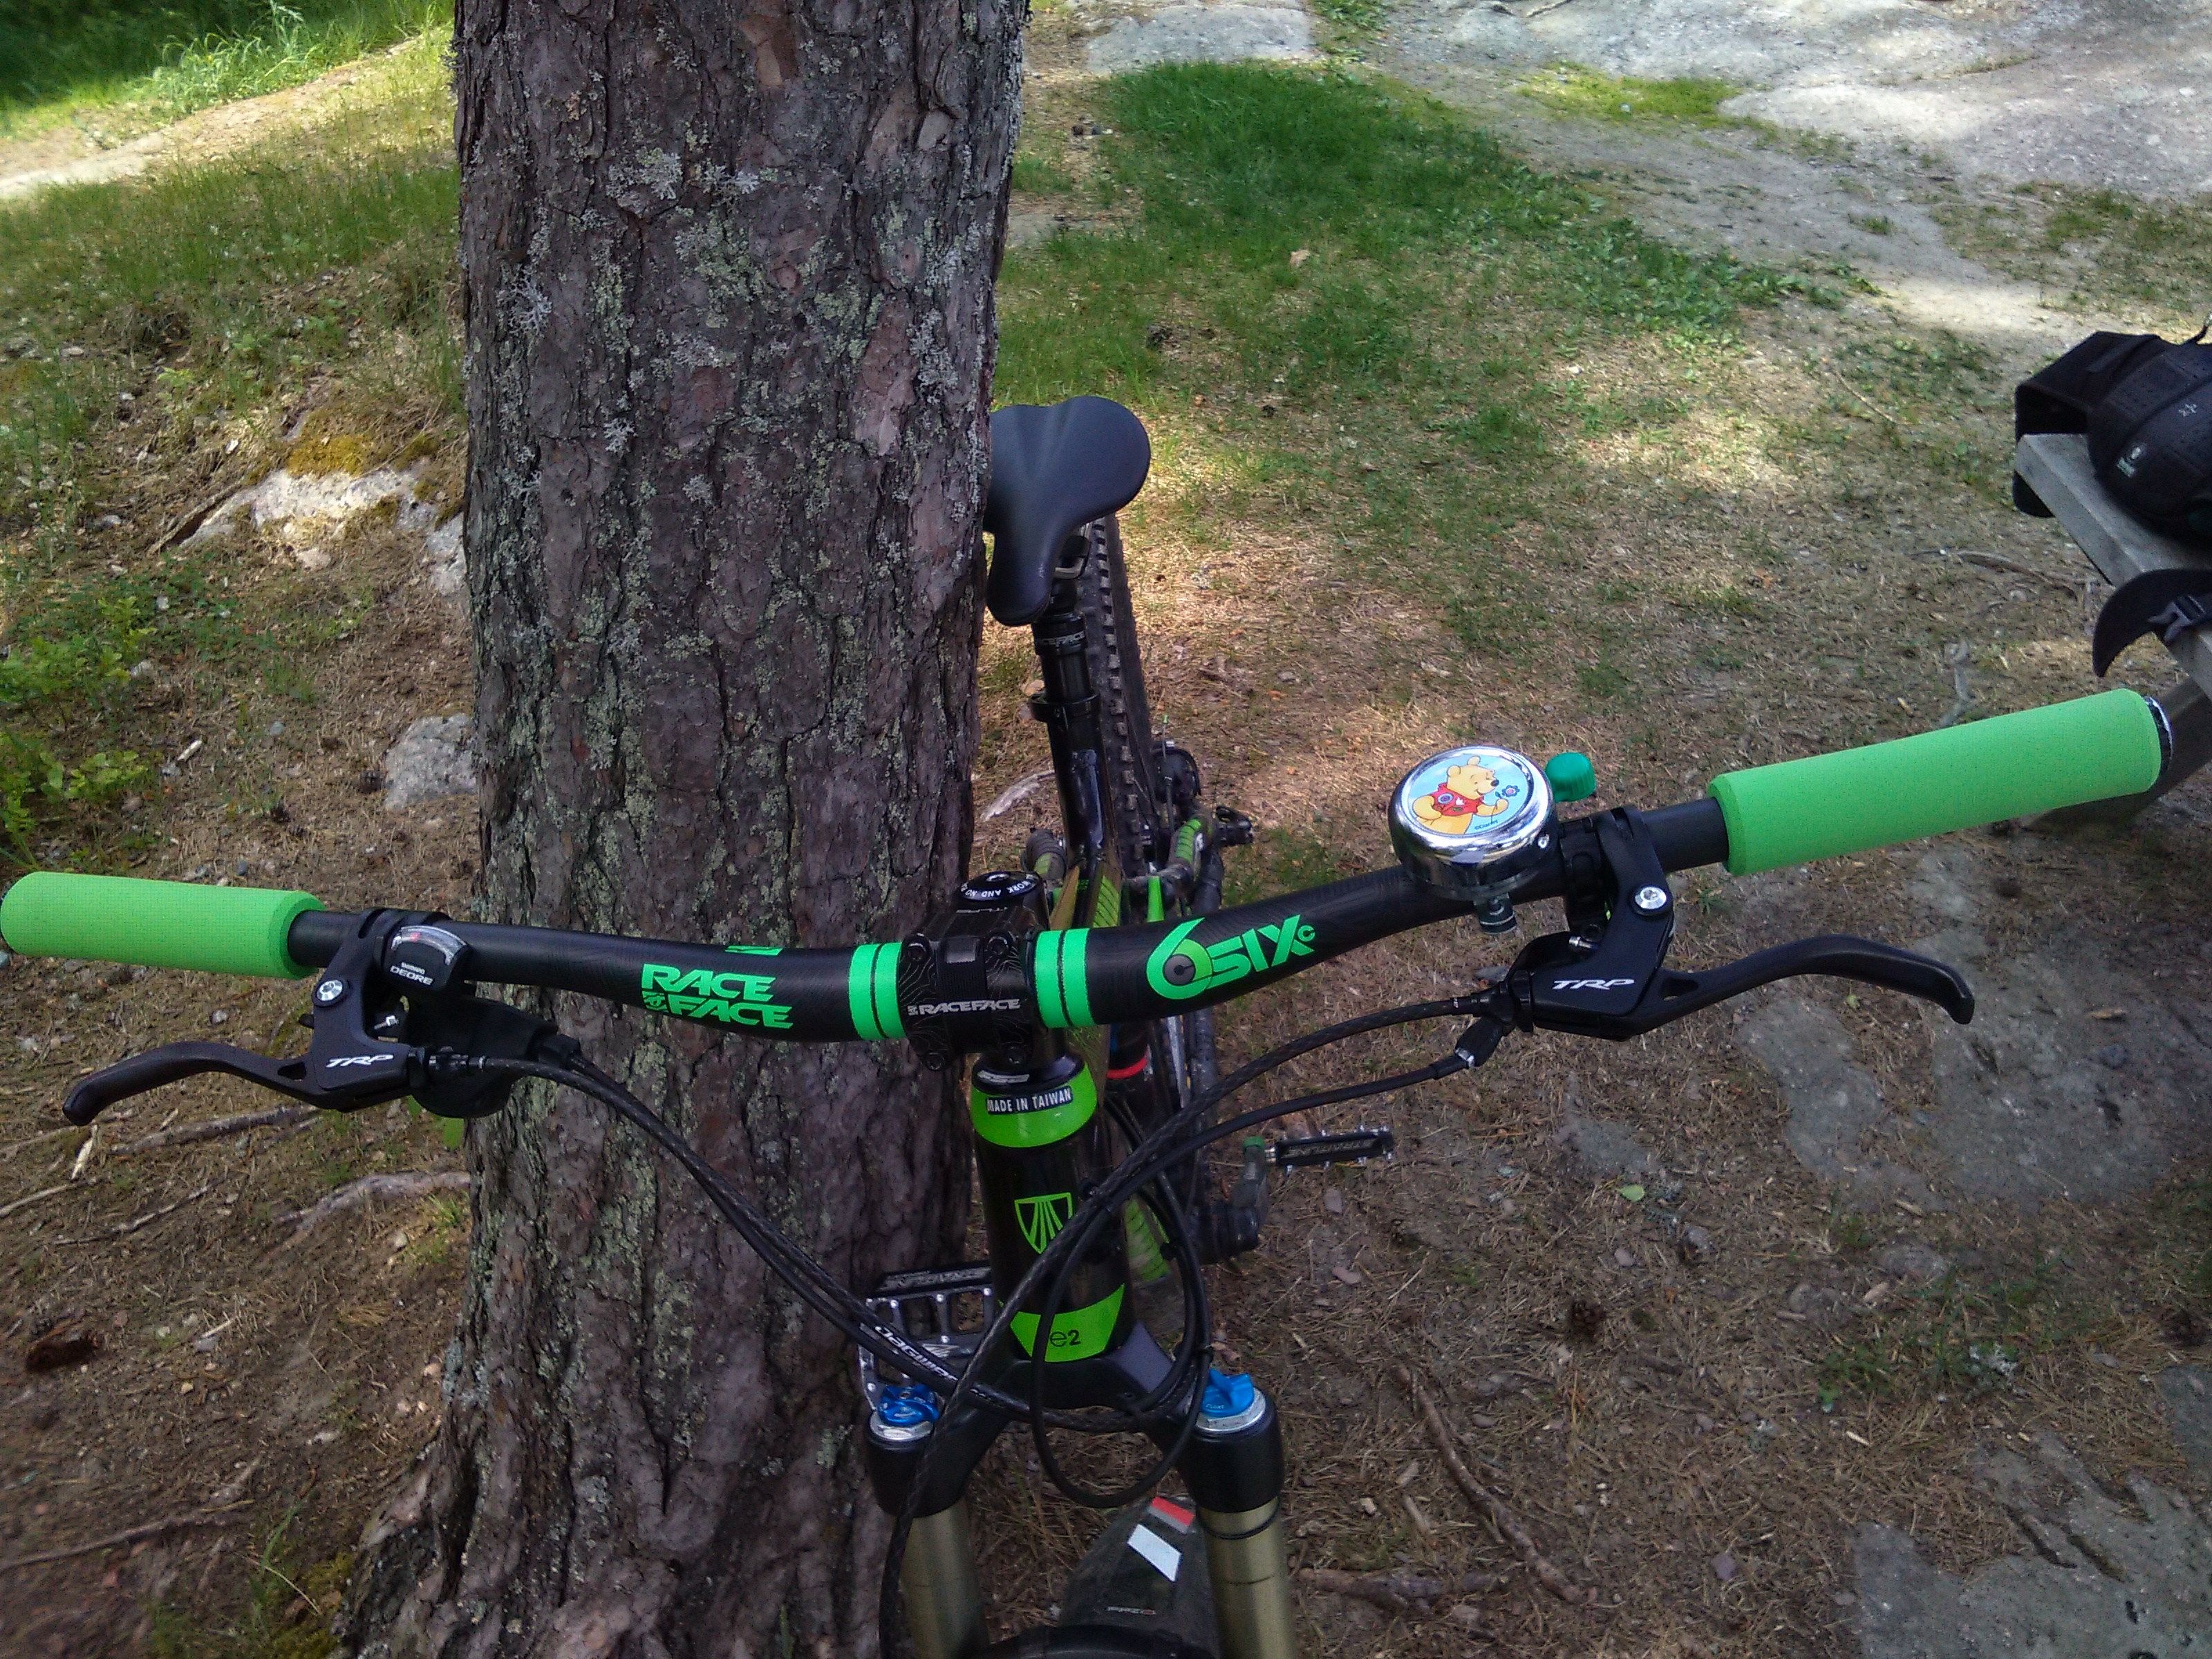
I have mostly used this rear dérailleur with 1x setup.

Sometimes I am unlucky and crash or mess up on a technical climb, and this is why the rear dérailleur got some scratches, It had some scratches before the crash, for smaller impacts, but the last crash really shows damage, but it’s only cosmetic damage, so my conclusion is that this is a robust rear able to take a lot of abuse, but the pins and swing arms are not replaceable, So when has play you have to get a new rear dérailleur.

I crashed off a 1 m concrete wall, the cage was grinding against the wall, I had shifting issues, First I thought they might be the result of the crash, But later I found it not to be the case.

I  Did an inspection on the rear dérailleur,  I checked all the adjustment screws I took off the cage and did a service, the cage was bent, So I straightened it, but the shifting issues were still present. So I checked them, but then I checked for play, the rear dérailleur had huge play, so it was definitely the play. causing issues.

but I straightened it, but after few days of riding, I noticed shifting issues, So I checked the all the adjustment screws, but then I checked for play, the rear dérailleur had huge play, so it was definitely the play. causing issues.

after riding few weeks with, there was just too much play to do up-shifts, the play caused the Rd to hesitate on shifts.
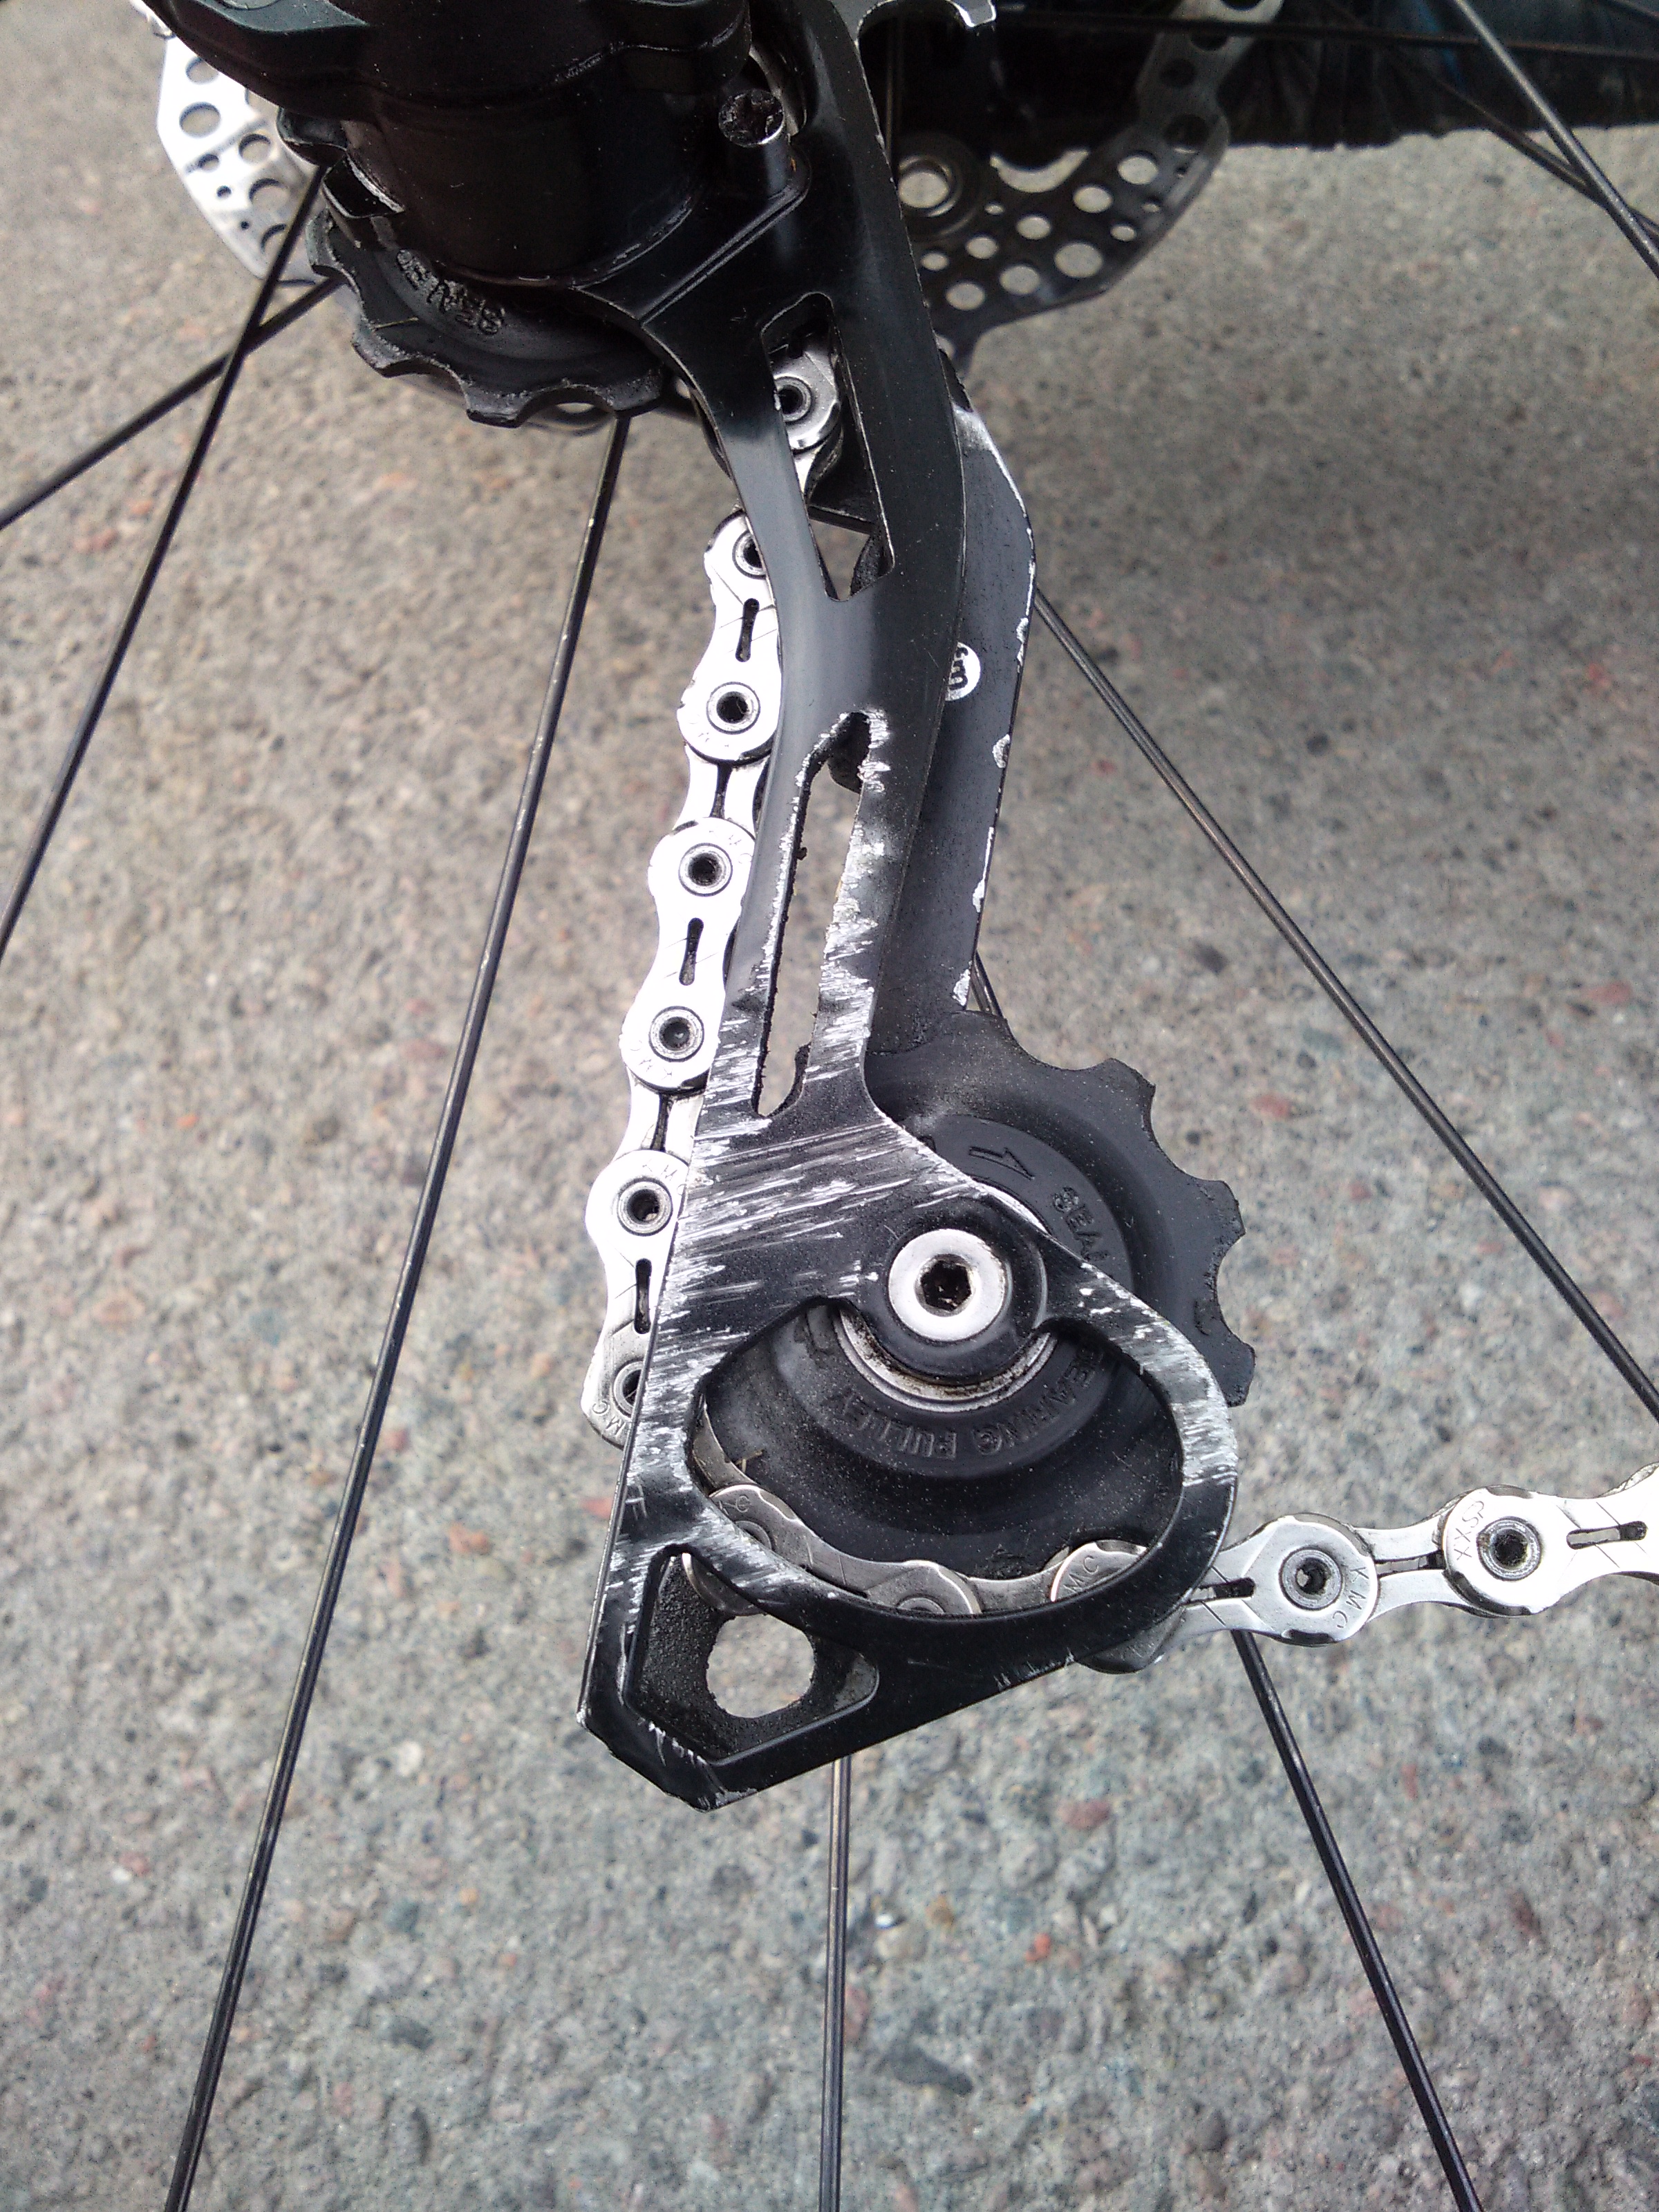
The plastic cover took some abuse, but it held up well. This is the most abused rear dérailleur so of mine so far.

Jockey wheels:

SLX M675 comes with bad jockey wheels, but you can upgrade to proper jockey wheels, the problem with the stock jockey wheels is that the that the jockey wheel and the metal ring grind against with other and cause damage to the jockey wheel which causes it to not spin smoothly.

Even upgrading to XT jockey wheels which work better, they are not that great, Hope has better spacers, they are Labyrinth style spacers, so the bearings are more protected against contaminants.

I recommend upgrading to Hope jockey wheels or similar, with proper bearings & proper cover.

Muc Off foam Fresh Review

It leaves your gear smelling fresh,If you apply a lot of of foam,but it won’t do a better job than hand soap.

Dish soap or hand soap can do better:

Does not work as well, as normal hand soap will.

Fast såpeBilderesultat for zalo

I used Lano hand soap to clean it,So far Lano soap & Zalo (Zalo is a quite common dish soap which a lot of people use to clean their bikes, not perfect for drivetrains,which Muc off degreasers do well and getting that brown color off you bike, which the last one Muc-Off Nano Tech Bike Cleaner does a great job with.) has been very good at cleaning all kinds of things out of my hands,apart chain lubes and stuff like this, But for cleaning stuff soaked in sweat it works great.So I had to try it.

With these 2 soaps you can see the helmet the effect of the soap quite fast.


with these 2 soaps I managed to clean helmet inserts so there was no dirty water coming out when rising off, which Muc off fresh foam did not, when rising off, there were dirty water after many tries, even after applying the foam and let it soak in and and rub with a sponge, there were still very dirty water when rising off many times.

Most dish soap will do the job,But make sure you don’t use to soaps/cleaners on helmets that can damage the materials.

Muc off fresh foam can clean lenses filled with dirt, but not much else.

Getting the sweat soaked helmet inserts, or adjustment straps clean & completely without a  stink is impossible.

I even Tried to clean my Forest smelling Five ten Freerider shoes, which did not work, the shoes still smelled like forest, even after applying a lot of foam many times with aggressive cleaning with a rag.

Another bad thing about the foam is that it runs out way too fast, but with liquid soap or solid soap, last way longer.


Verdict:

I can’t recommend this cleaner,as it does a poor job on cleaning shoes, shoe soles,goggles,helmet inserts. I won’t buy it again.


Cleaning tips:

To clean properly clean items like these: shoes, shoe soles,goggles,helmet inserts.

I recommend cleaning them by hand with water and hand soap or dish soap

Using a Washing machine can damage goggle foam,plastic parts on the helmet inserts,as it is a way too brutal method.

The best method to clean shoes,helmet inserts, similar things, is to use water, hand soap or dishwashing soap, and a sponge.

soak the item in water, apply soap, get soap every where with a sponge, let the soap do its job few minutes,then use the sponge clean every thing and the last the is rising the item with water. if you use hard hand soap, you can rub it against the surface you want to clean.

2 Months Review of TRP Spyke caliper & Spyke ML800 & ML930 levers

Enter a caption
Lezyne Sv-10_2864

I have used these brakes for over 2 months on 2 bikes without any issues major issues.

And I have put these brakes through their paces.

I don’t think I have to wait much more than 2 months before publishing this review, as these brakes are mechanical brakes, So not much can go wrong, But I will update you if there is something more to write about.

Both levers good enough feel, but the ML930 has a smooth surface on the lever blade, the ML800 has a textured surface with a Spyke logo, but the white paint on the logo wears off after few weeks or days.

Spyke Levers:

The Spyke logo on the lever blade actually gives more grip as its engraved.

Pros:

  • Rech adjustment so these levers will work well for a kids bike.
  • Excellent barrel adjuster, it fits well into my fingers and makes it very easy to adjust the wire tension.

Cons:

  • up and down play in the lever blade
  • No hinged mount, so you have to remove the grips, but for me this is not a deal-breaker.

Product page: https://www.trpcycling.com/product/spyke-lever-set/

The brake levers combined with the Spyke caliper results in a rougher lever feel than Any hydraulic brakes I have tried so far,
this is due to the return spring in the caliper, it can really be felt through the lever body & lever, the return spring i nthe lever can also get rough, so you need to lube the moving parts in the lever to avoid sqeaking or other noises,

ML930 levers:

The lever body has visible flex while braking, But I can’t notice it while braking.

Product image

TRP offers a carbon version of this lever, which is ML940.

Pros

  • Excellent barrel adjuster, it fits well into my fingers and makes it very easy to adjust the wire tension.
  • Lighter than the ML800 Spyke levers
  • Hinged mount for easy removal
  • Rech adjustment so these levers will work well for a kids bike.
  • I have these levers on both of my fuel ex 29ers, and they the levers on both survived crashes, on one it survived over the bar crash, where the bike landed parked upsidedown
    The brake on tother bike like it survived a fall about 1 meter from a concrete wall.

Cons

  • Same up & down play as the Spyke levers

TRP ML 930 levers fittet on a 800mm Race Face Sixc handlebar, I have them setup 3cm from the grips.


Calipers:

38545312311_56f4755a28_o

The dual arm has is quite harder to pull up compared to Tektro single piston brakes, but this does not bother me This is caused by the return spring.

the Spyke brakes offer one finger braking, as powerful as the Shimano m615 brake, but without the issues of leaks and impossible to get seals(without contacting Shimano).

The Pad mud cover give some protection, but they definitely make a difference, mine was had sand on them when riding in wet conditions, there is no way to protect the pads, things will get in the rotor and can get stuck and make noises.

Note that this is the wrong way toclamp the wire, clam it agianst the arm. after soem testing I can say I feel the difference in power.

Pros:

  • well engineered, caliper, the narrow design gives good clearance so you won’t hit your heals on the brake.
  • the 3 mm piston adjustment, makes these brakes easy to set up.
  • barrel adjusters that are easy to use and by figners fit nicely on them, to adjust the wire tension I turn the barrel adjuster, and hold my finger on the swingarm, when I feel the arm move I back off.
  • With barrel adjuster both at the lever & on the caliper, you get a good amount of adjustment.
  • rubber seal helps to keep dirt from coming in the hoses.
  • Easy to align The calipers: To align the callipers with the Hope floating rotors, I screw in the outside pistons about ca 3 quarters, and the inside piston about ca 2 quarters, then I tighten the caliper bolts and loosen the pistons, which leaves me with perfectly aligned brakes.
  • easy to assemble, & get the cable clamped.
Note that this is the wrogn way toclamp the wire, clam it agianst the arm. after somw testing I can say I feel the difference in power. Even with the wire clamped wrong these brakes were powerful enough for trail riding, but you shou

Verdict, these brakes performed well so far, so far I don’t see any reason to switch to back to hydraulic brakes, But hydraulics.

To keep the brakes having consistent braking power and modulation, you only have to use thread lock on the piston threads and have proper wire tension, and check it regularly. And of course, adjust the pads inwards as they wear out.

The semi-metallic pads give excellent g braking power, and they held up well for a few months, and I think they will last a few months more.

If you get the Caliper & Rotor pack, caliper adaptors are included